
At first, I was excited to get an ice cream maker. I had visions of churning up batch after batch of different flavors, and always having a quart in the freezer for a late-night snack.
Then I learned about tempering the base.
Science time! Ice cream’s rich, smooth texture is created by a combination of ice crystals, concentrated cream and air; the fat, milk protein and sugar coat the crystals, preventing the water from freezing solid. Adding eggs results in an even richer, smoother ice cream—but you have to cook the eggs to kill any bacteria in the raw yolks and disperse the proteins and emulsifiers.
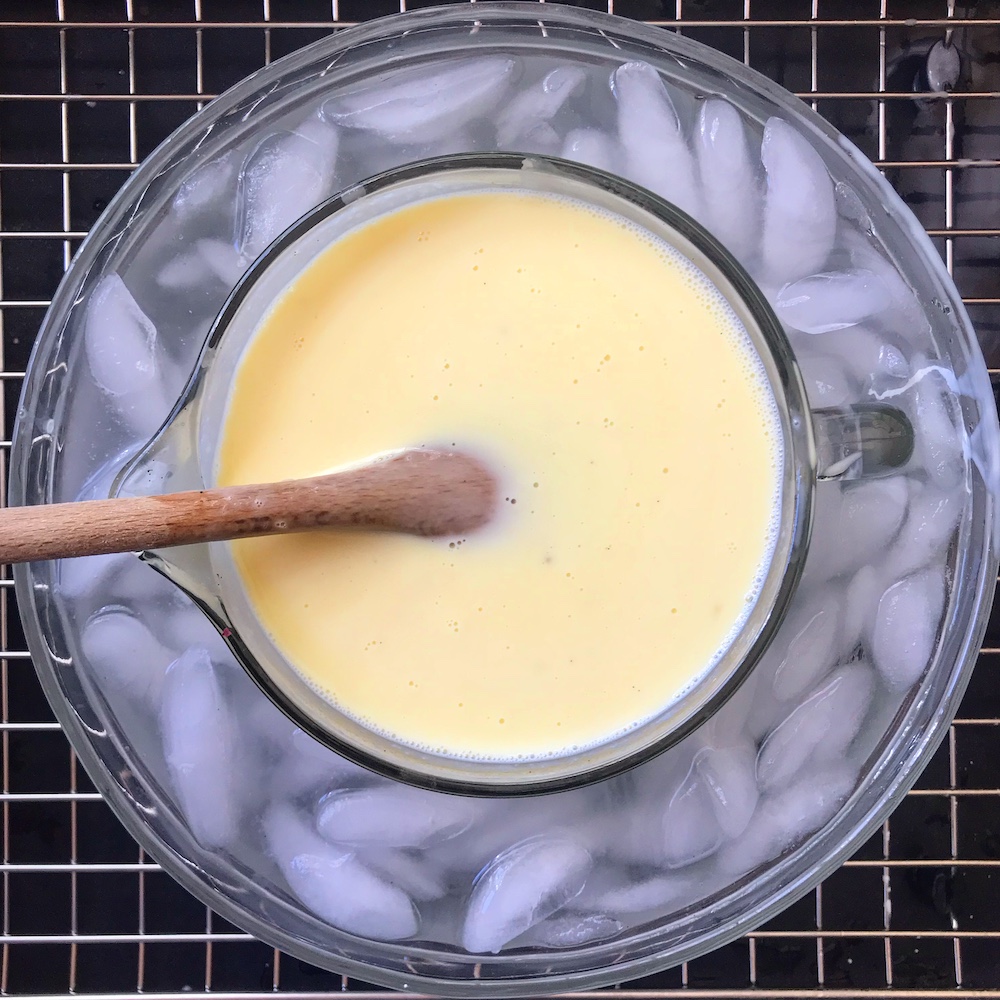
And then, as soon as the mixture hits the desired temperature (usually between 170° and 180°), you’ve got to rapidly cool it back down so the eggs don’t curdle and the base is at a more suitable temperature for churning. (An ice cream machine can only drop the temperature of its contents so much, especially if it’s a frozen-bowl type of machine like I have.)
Which leads to moments like the one pictured below, from when I made my first batch of ice cream in 2019. After standing and stirring at the stove, I rushed the base over to the kitchen sink, where I’d assembled an ice bath, then stood and stirred again, 4 feet to the left, until the mixture had sufficiently cooled—from 170° to 40°.
“This is too much work, considering I can buy a pint of Ben & Jerry’s at the grocery store for like $4,” I thought. And then once my friend Rich opened his own, award-winning ice cream shop in Phoenix with rotating flavors including Gansito, Abuelita Naranja and Turkish Coffee, I had even less reason to be churning up my own ice cream at home. (That homemade ice cream pictured above was really good, though, I’m not gonna lie. Plus, I swirled strawberry-rhubarb compote throughout the batch for a ribbon of extra sweet-tart flavor.)
The ice cream machine went unused for years until I clocked some ice cream starters at Williams-Sonoma that didn’t require intense stovetop attention, just a quick heat to melt the sugar into the dairy liquid. I particularly liked the caramel flavor, but a container that yields only two quarts costs $17—and that includes just the dry ingredients, you’re still on the hook for the heavy cream and the half-and-half. And even after the ice cream finishes churning to roughly soft-serve consistency, you’ve got to freeze it for at least a few more hours so it can reach a more solid form.
So I gave up on homemade ice cream for a while. But while I was going through the manila folder of collected recipes last weekend, I found a page I’d pulled from the June 2019 issue of Food & Wine that featured a recipe from Portland, Ore., ice cream shop Salt & Straw for ice cream that uses olive oil, whole milk and xanthan gum to create a silky texture without tempering. My curiosity was piqued!
The olive oil doesn’t lend a particularly strong note to the finished product; to me, it tastes more like the “sweet cream” variety of ice cream that’s less flavorful than vanilla but still a nice treat.
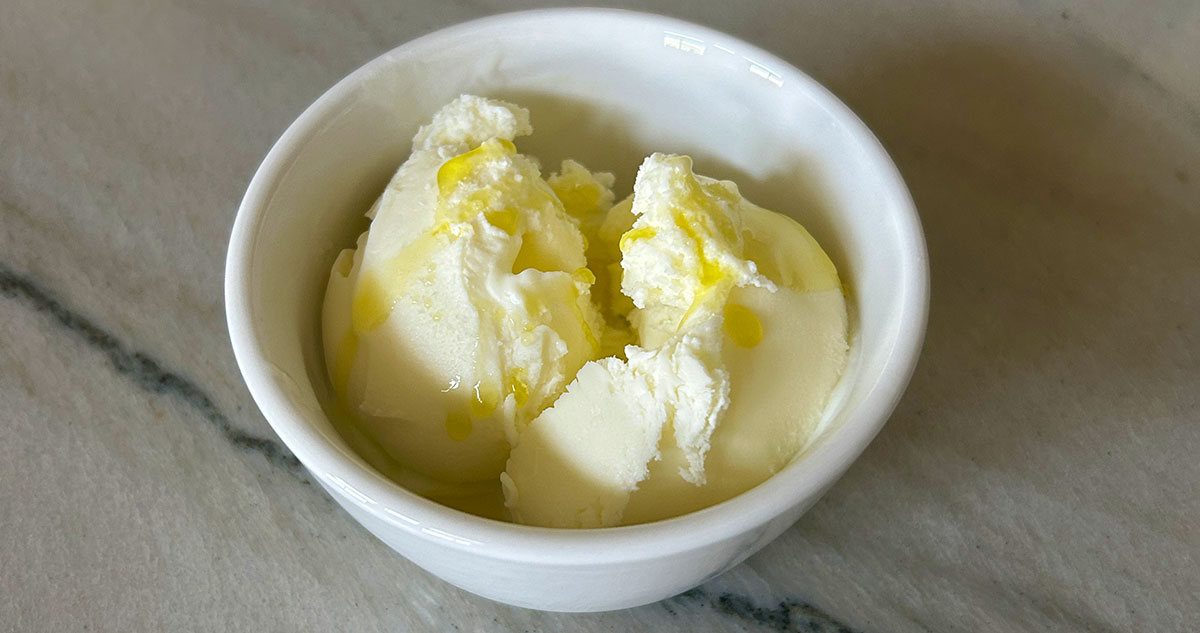
I tried the magazine-recommended garnish—a drizzle of olive oil and some flaky sea salt—for my first serving (and the photo at the top of the post), but quickly decided that wasn’t how I’d choose to enjoy ice cream. For my second serving a day later, I spooned some strawberry-rhubarb compote over my scoops, for much more enjoyable results.
OLIVE OIL ICE CREAM
Serves 8.
Ingredients:
- ½ cup granulated sugar
- 2 tablespoons nonfat powdered milk
- ¼ teaspoon xanthan gum
- 1⅓ cups whole milk
- 2 tablespoons light corn syrup
- 1⅓ cups heavy cream
- ¼ cup grassy extra-virgin olive oil, plus more for garnish
- ½ teaspoon kosher salt
- Flaky sea salt (such as Maldon)
Instructions:
- Stir together sugar, powdered milk and xanthan gum in a small bowl. Whisk together milk and corn syrup in a medium saucepan. Add sugar mixture and whisk until smooth.
- Heat mixture over medium, whisking often, until sugar has fully dissolved, 3 to 4 minutes. (Do not simmer.) Remove from heat and whisk in cream.
- Cover and chill for at least 6 hours. For even better texture and flavor, chill up to 24 hours. Base can be stored in an airtight container in freezer for up to 3 months; thaw completely before using.
- Whisk together chilled base, olive oil and kosher salt until well combined. (There will still be droplets of oil on the surface.) Pour mixture into freezer bowl of a 1½-quart electric ice cream maker and proceed according to manufacturer’s directions until ice cream has the texture of soft-serve, about 35 minutes. (Instructions and times may vary.)
- Quickly transfer ice cream to a freezer-safe container; press parchment paper or plastic wrap directly onto surface. Cover container and freeze until firm, at least 6 hours. Ice cream can be stored in freezer up to 3 months.
- To serve, garnish with olive oil and flaky sea salt.
